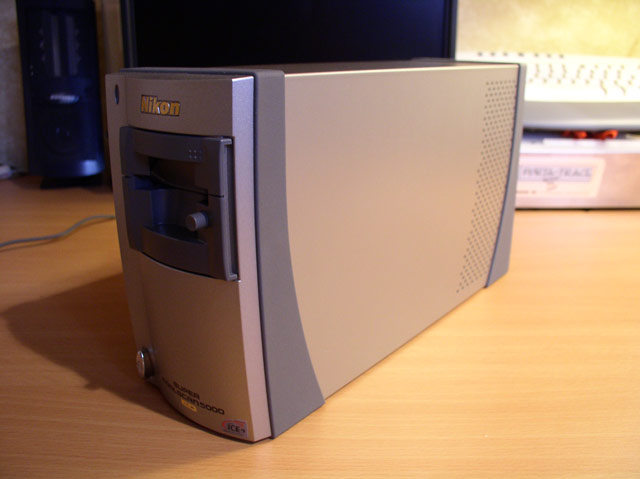
How to Clean a Nikon Super Coolscan 5000 ED
I decided to clean my LS-5000 because it has done about 10,000 scans so far and I figured that the mirror was probably somewhat dirty. After opening the unit up I could see that it was. Cleaning your scanner is like changing the oil in your car; it's routine maintenance that you need to do to keep things running optimally. The procedure described here is pretty straightforward but you must take your time. It took me between 2 and 3 hours to complete the job, but I was taking pictures and didn't have a tutorial like this. However I did get some help and so I would like to thank Patrick Chase for his suggestions and tips regarding this job. This technique will also work on the Nikon LS-4000 and probably the LS-40 (Coolscan IV ED) and LS-50 (Coolscan V ED).
Disclaimer: Pearson Imaging is NOT RESPONSIBLE in ANY WAY for ANYTHING that may happen if you attempt this. YOU assume ALL responsibility. Attempt at your own risk! Opening your scanner may void your warranty. Pearson Imaging will NOT provide any support regarding this tutorial. That means NO emails and NO phone calls regarding this.
1) Unplug the scanner & USB cable, remove any adaptors, and set up a workspace. oijoijoijoijoijoijoij

2) Remove these 8 screws on the back of the unit.
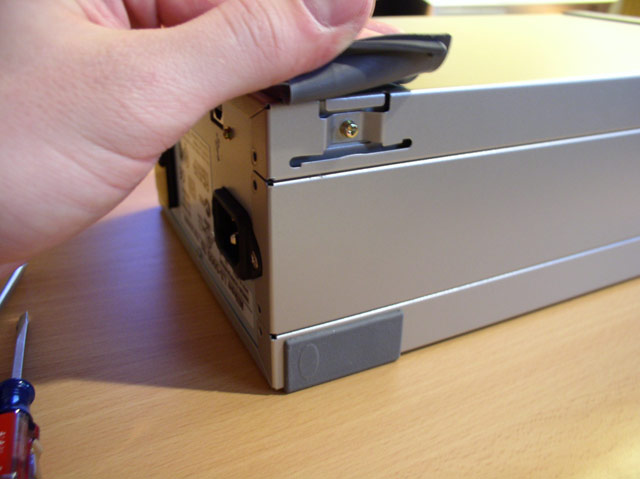
3) Pull out the corners of the rubber feet under the scanner. Remove the 4 brass screws that are located under the rubber feet, one screw in each corner.

4) Carefully slide the unit out of the main cover and set the main cover aside.
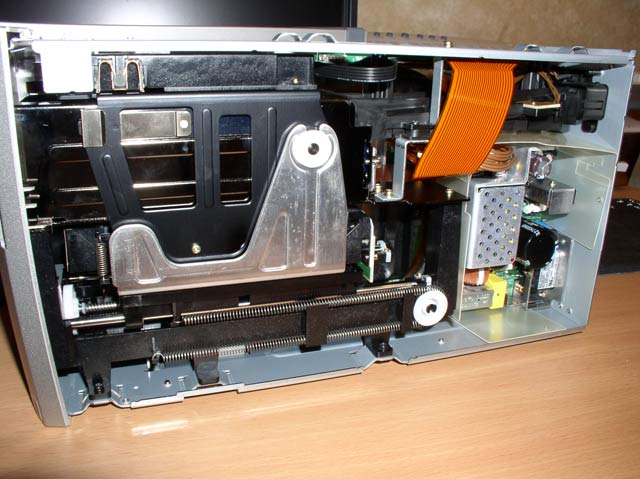
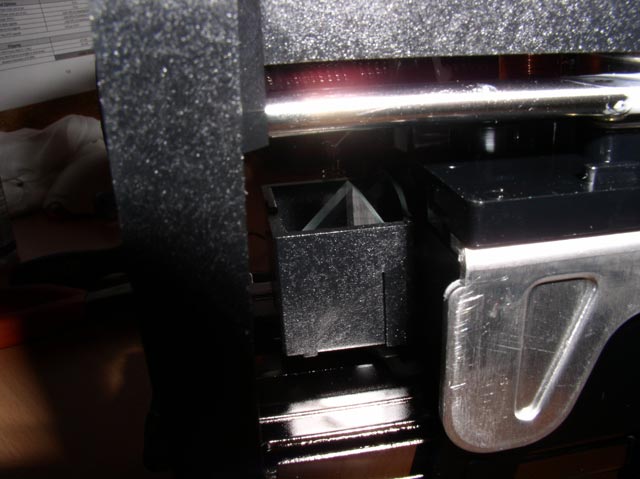
Here's what it looks like inside the LS-5000.
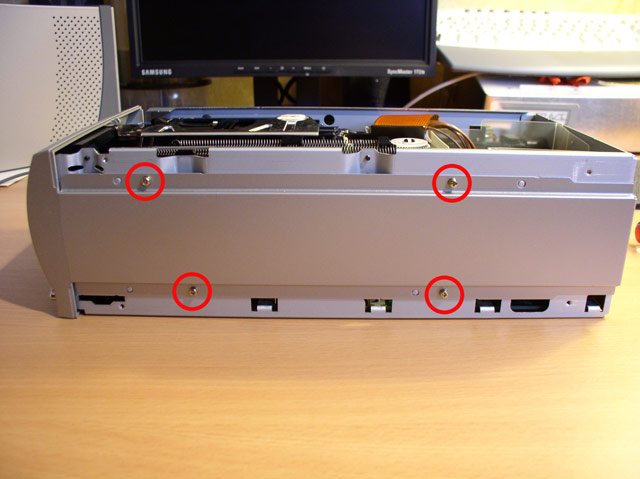
5) Remove these 4 screws and set the bottom panel aside.
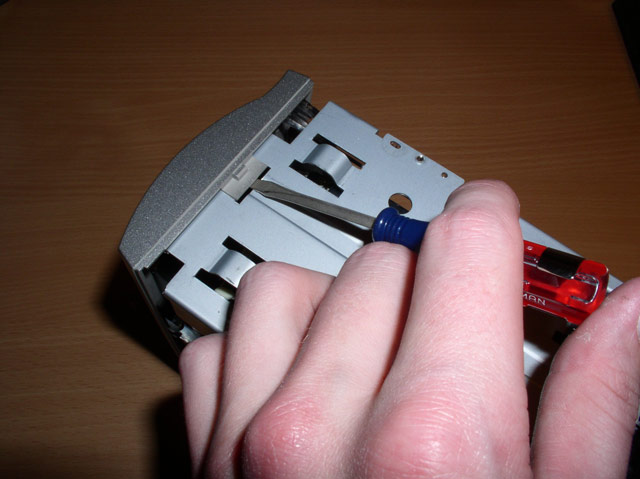
6) Using a small flat head screwdriver pry the top tab of the front face up and then slide it forward. Undo the bottom tab, remove the front face, and set it aside.

7) Remove these 3 screws and set the front inner cover aside.
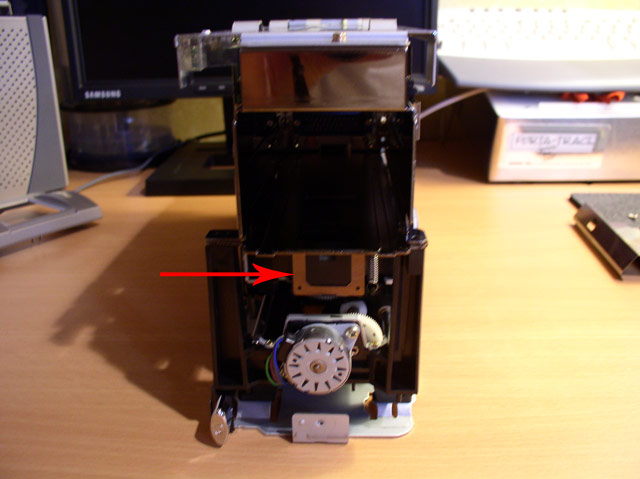
The arrow in this picture is pointing to the clip that holds the mirror in place. You can get this off and remove the mirror without disassembling the entire unit. It's a tight fit but it works. The clip and mirror need to be pulled out to the side with the arrow.
8) The mirror clip is held on by two top teeth, carefully slide these back. Now you can slide the mirror clip and mirror down and then maneuver them out to the left. You must be VERY careful not to drop the mirror because it scratches easily and could even break. Take your time with this step!
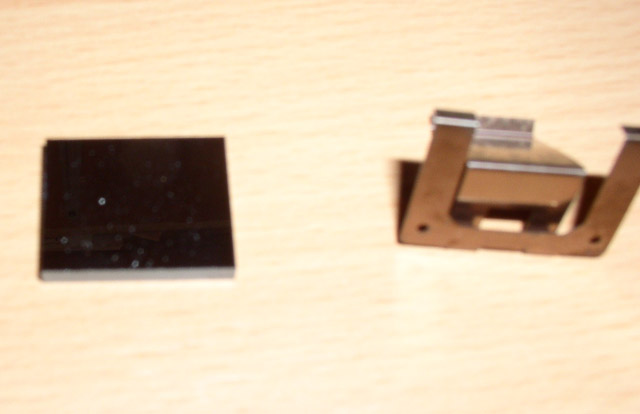
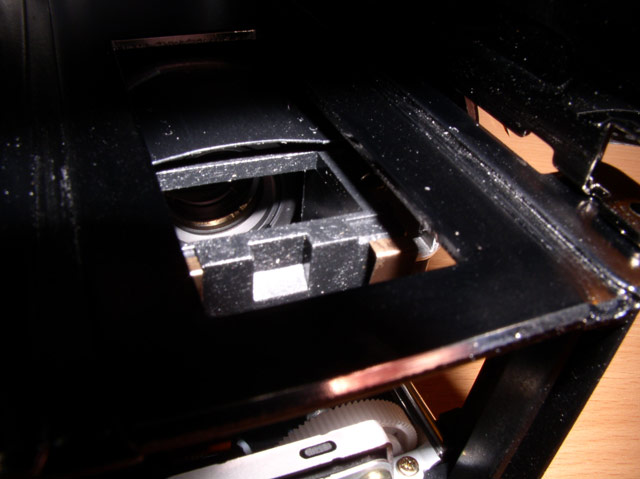
9) Clean the mirror. It should be completely dust and streak free. I used Kodak lens cleaning paper with camera lens cleaner. Spray some cleaner on the paper and then wipe across the mirror. For each wipe use a new section of the paper or a new piece of paper altogether. As I said before the mirror is VERY delicate and scratches easily. Take your time! Here you can see my mirror was in need of a cleaning. You can also see the mirror clip in this photo. The mirror sits on the clip at a 45-degree angle. It is also worth noting that the mirror is TINY; it is less than one inch by one inch.
10) Once the mirror is clean it can be put back in the scanner. I found that the easiest method of doing this is to turn the scanner upside-down, hold the mirror by the edges and VERY carefully maneuver the mirror in and place it back into the carriage. Once the mirror is in you can put the mirror clip back on. Take your time with this step too!
11) Put everything back together in reverse order of removal.
12) Test to see the results. My mirror wasn't too dirty so I cannot really notice any differences in scans, but at least I know that the mirror is as clean as it can get.
Tip 1: Since the scan carriage moves back and forth in the scanner you want to catch the carriage when it's furthest back, this will give you the most room to work. To do this simply unplug the scanner in the middle of a scan, then check to see that the carriage is in the back. I obviously did not do this and I know it would have made this procedure much easier. However, as you can see in this tutorial, it is possible to remove the mirror even after the scanner has been properly shut off.
Tip 2: No matter how hard you try some dust will get into your scanner. Either by sitting out or by doing a lot of scanning. To slow the build up of dust store your Nikon scanner covered and on its side when not in use. You should also store all adaptors in plastic bags when they are not in use. When scanning slides keep the unit on its side. It's pretty easy to see why once you know how these scanners are built.
Tutorial on How to Clean a Nikon LS-2000 - Worth looking at even if you have a newer Nikon scanner because the pictures will help to give you a better understanding of how Nikon scanners work. This page has pictures showing the LS-2000 almost fully disassembled.
Tutorial on How to Clean a Nikon LS-8000/LS-9000 - The larger Nikon scanner that also scans medium format film.
Dirty Scanner Optics - A very good example of how cleaning your scanner can improve scan quality; before and after scans.
Photo.net Discussion on Cleaning Scanners - Although this thread is aimed at older Nikon models there is still some good information on different techniques for cleaning the mirror.